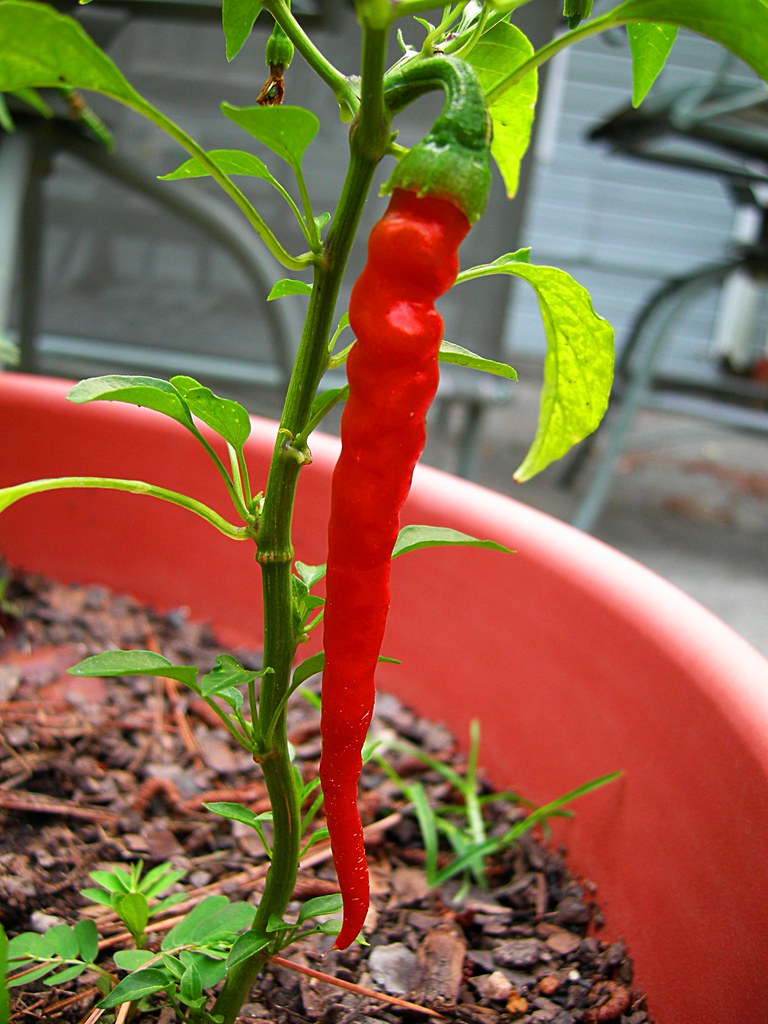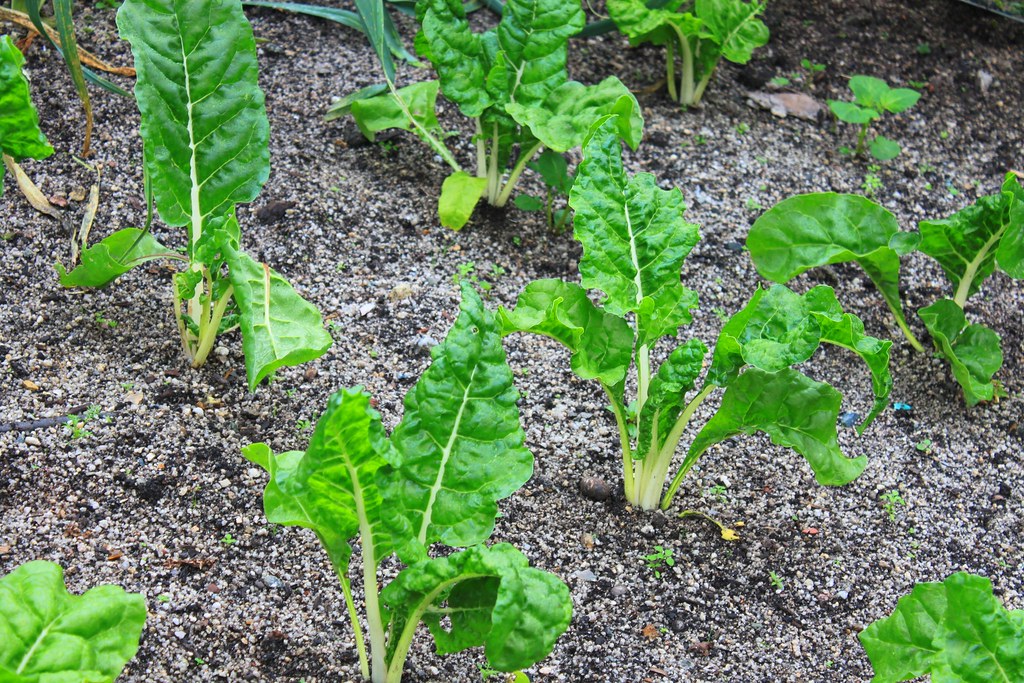
You don't need a large plot to grow a significant amount of food. Vertical trellises, bio-intensive layouts, and container gardening help maximize your harvest in small spaces, turning balconies or patios into productive food spaces. Planning your vertical space is key to success.
Soil Chemistry, Minerals, and Cation Exchange Capacity
When planning a successful backyard vegetable plot, grasping how soil chemistry and physics interact is essential. Soil is a complex mixture of mineral particles, decomposed organic matter, water, and gases. The texture of your soil is determined by the ratio of sand, silt, and clay. Sandy soils have large particles and large spaces between them, meaning water drains away quickly, taking vital nutrients with it. Clay soils, on the other hand, consist of microscopic particles packed tightly together. While clay holds water and nutrients exceptionally well, it is highly vulnerable to compaction from foot traffic or heavy machinery. Compacted clay soil drives out air, making it difficult for plant roots to breathe and absorb nutrients. Incorporating organic compost helps open up compacted clay and bridges the gap in sandy soils, creating a balanced soil texture.
The chemical activity of soil is driven by the surface charge of clay and organic matter particles. Both clay and humus (decomposed organic matter) carry net negative electrical charges on their surfaces. This negative charge allows them to attract, hold, and exchange positively charged ions (cations) such as Calcium (Ca2+), Magnesium (Mg2+), Potassium (K+), Sodium (Na+), and Ammonium (NH4+). This property is known as Cation Exchange Capacity (CEC). Soil with a high CEC acts as a natural nutrient reservoir, holding onto essential minerals and releasing them to plant roots as needed. Sandy soils have a very low CEC (typically 1 to 5 meq/100g), while clay soils and organic-rich soils have a high CEC (ranging from 20 to over 50 meq/100g). As organic growers, our primary goal is to increase the soil’s CEC. The most effective way to do this is by regularly adding high-quality organic compost, which breaks down into humus and adds negative charge sites to the soil matrix.
Soil pH directly controls whether the nutrients in your soil are available to your plants. Most vegetables thrive in a pH range between 6.0 and 7.0, where nutrients are highly soluble. If the soil becomes too acidic (below 5.5), nutrients like phosphorus, calcium, and magnesium lock up and cannot be absorbed, while aluminum can reach toxic levels. In alkaline soils (above 7.5), phosphorus binds with calcium, and iron becomes unavailable, causing yellowing leaves. To adjust pH organically, apply agricultural limestone to raise pH or elemental sulfur to lower it. Regularly adding compost also helps buffer pH, keeping the soil stable and nutrients available for plant absorption.
Nurturing the Soil Food Web in Your Root Zone
The area of soil immediately surrounding plant roots is known as the rhizosphere. This zone is a highly active biological hotspot. Plants direct up to 30-40% of their photosynthetic energy downward, exuding carbon-rich sugars, amino acids, and proteins through their roots into the soil. These root exudates are not waste products; they are designed to attract, feed, and manage specific populations of soil microbes. In exchange for these carbon inputs, the microbial community processes organic matter, unlocks minerals, and protects the plant roots from pathogens. This biological partnership is the foundation of the soil food web, which includes bacteria, fungi, protozoa, nematodes, micro-arthropods, and earthworms. Each member plays a role in nutrient cycling and building soil structure.
Beneficial fungi and bacteria decompose organic matter and store nutrients in their bodies. Mycorrhizal fungi form mutualistic relationships with most vegetables, extending their threads (hyphae) directly into root cells. This network acts as an extension of the plant’s root system, expanding its search area for water and phosphorus. Mycorrhizae also secrete glomalin, a natural substance that binds soil particles into stable crumbs, improving soil structure and water retention, which helps prevent dry-spell stress.
Biological nutrient cycling relies on soil predators consuming bacteria and fungi. Protozoa and nematodes digest these decomposers and release excess nitrogen as ammonium. This provides a steady supply of nutrients for your plants. Avoiding synthetic chemical fertilizers protects this biological cycle from salt damage and keeps the soil food web active, creating a healthy soil environment.
Composting Science: C:N Ratios and Thermophilic Aeration
High-quality compost is built on a balanced C:N ratio. Target roughly 30 parts carbon to 1 part nitrogen. Carbon materials supply structure and energy, while nitrogen-rich green waste provides the proteins that fuel microbial growth. Getting this balance right helps the pile decompose quickly without smelling, providing excellent organic matter for your soil.
If the compost pile has too much carbon (a ratio above 50:1), the decomposition process slows down significantly because the microbes lack the nitrogen needed to build their populations. If the pile has too much nitrogen (a ratio below 15:1), the microbes exhaust the available carbon quickly, and the excess nitrogen is converted into ammonia gas, causing a strong odor and nutrient loss. Moisture is also critical; the compost pile should maintain a moisture level of 50-60%, feeling like a wrung-out sponge. If the pile dries out, microbial activity stops. If it becomes waterlogged, the water displaces air in the pore spaces, turning the pile anaerobic. Anaerobic composting is slow, produces foul-smelling gases like hydrogen sulfide, and can harbor plant pathogens.
Thermophilic composting uses heat to kill pathogens and weed seeds. The pile should be at least 3 cubic feet to hold heat. As bacteria consume nutrients, the core temperature rises past 104°F, allowing thermophilic bacteria to take over and heat the pile to 135-160°F. Turn the pile regularly to move outer materials to the hot center and add oxygen, helping produce clean, rich compost for the garden.
Aerated Compost Tea: Formulation and Foliar Inoculation
Aerated Compost Tea is a liquid solution used to spray leaves or drench soil with beneficial microbes. By brewing compost in aerated water, we multiply the bacteria and fungi present. This liquid tea helps protect plants from diseases and improves soil microbiology. To brew it, you need a bucket, an air pump with bubbler stones, a mesh bag, and microbial foods, ensuring the environment remains oxygenated.
Feed your tea based on the crops you are growing. Bacterial teas, brewed with molasses, support leafy greens. Fungal teas, brewed with kelp and humic acid, support tomatoes and peppers. Use dechlorinated water and brew for 24-36 hours with continuous aeration to achieve the correct balance of biology.
Healthy compost tea has a pleasant, earthy scent. If it smells bad, it has gone anaerobic and should not be used on plants. Apply the brew within 4 hours of turning off the pump using a clean sprayer. Spray during the cool parts of the day to protect the beneficial microbes from sunlight and ensure leaf colonization.
The Mechanics of Companion Planting: Design and Benefits
Companion planting is the strategic arrangement of different crop species next to one another to create mutually beneficial relationships. This method maximizes space, manages pests, and improves soil fertility naturally. Companion planting is based on physical support, nutrient sharing, and chemical signaling. The “Three Sisters” method is a classic example: corn provides structural support for climbing beans, beans host nitrogen-fixing bacteria that fertilize the soil, and squash leaves shade the ground, acting as a living mulch that retains moisture and suppresses weeds.
Pest management is another key benefit of companion planting. Aromatic companion plants, such as basil, garlic, chives, mint, and marigolds, release volatile organic compounds (VOCs) that mask the scent of host plants, helping protect crops from pests. Marigolds also produce alpha-terthienyl from their roots, a compound that suppresses harmful root-knot nematodes in the soil. Planting companion flowers like alyssum, dill, fennel, and yarrow attracts beneficial insects (ladybugs, lacewings, hoverflies) that prey on pests like aphids and thrips.
Understanding allelopathy is also important. Some plants release biochemicals that inhibit the growth of nearby species. For example, fennel releases compounds that stunt many common vegetables and should be grown in its own area. Walnut trees produce juglone, a chemical that is toxic to tomatoes, peppers, and potatoes. By avoiding these negative pairings and focusing on positive companions, you can create a diverse, self-regulating garden ecosystem that produces healthy crops with minimal intervention.
Crop Rotation: Rotation Cycles, Families, and Disease Control
Crop rotation helps prevent disease buildup and nutrient depletion. By moving plant families to different beds each season, you break the lifecycles of soil pathogens and pests that target specific crops, while keeping the soil fertile and biologically active.
Group your crops into four rotation zones: Legumes (nitrogen fixers), Heavy Feeders (tomatoes, cabbage), Guzzlers (squash, cucumbers), and Light Feeders (root crops, onions). Moving these groups through your beds sequentially maintains balanced soil nutrition and reduces fertilizer needs.
Divide your garden into four areas and move each crop group one step forward each year. Keep a detailed garden map to track these changes. Planting winter cover crops in empty beds helps protect the soil, adds organic matter, and supports soil biology during the cold months, preparing the soil for spring.
Integrated Pest Management: Physical Barriers and Organic Deterrents
IPM combines multiple strategies to manage pests safely. Physical barriers are the first defense. Row covers protect brassicas and salad greens from flying insects without using chemical sprays. Cardboard collars placed around seedling stems help prevent cutworm damage during the critical early transplant stage.
To control crawling pests like slugs and snails, use barriers that disrupt their movement. Diatomaceous earth (DE) is a powder made from fossilized diatoms. Its sharp microscopic edges cut the exoskeletons of soft-bodied insects, causing them to dehydrate. DE must be reapplied after rain, as moisture renders it ineffective. Copper tape placed around raised beds creates a tiny electrostatic charge that deters slugs from crossing. These physical barriers form the first line of defense in an organic Integrated Pest Management (IPM) system.
When physical and biological controls are not enough, organic sprays can be used as a last resort. Insecticidal soaps and horticultural oils work by coating the bodies of soft-bodied insects like aphids, spider mites, and whiteflies, causing them to suffocate. Neem oil, extracted from the seeds of the neem tree, contains azadirachtin, which disrupts the growth and feeding cycles of pests. These organic treatments should be applied in the early morning or evening to avoid harming beneficial pollinators and prevent leaf burn from the sun.
Indoor Seed Starting: Soil Mixes, Lighting, and Hardening Off
Growing from seed offers access to unique plant varieties. Use a light, sterile seed-starting mix of peat and perlite to hold moisture and support young roots. Avoid garden soil for indoor starts, as it can harbor diseases like damping-off which can kill seedlings early.
Use heating mats to keep soil temperatures between 70-80°F for warm-season seeds. Once germinated, place seedlings under grow lights for 14-16 hours a day, keeping the lights close to the leaves to prevent leggy growth. Water carefully and feed with diluted organic liquid fertilizer weekly.
Hardening off is essential to prepare indoor seedlings for the garden. Spend 7-10 days gradually introducing them to outdoor conditions. Start with short periods in the shade and work up to full sun to prevent transplant shock, ensuring healthy transitions.
Building and Filling Organic Raised Beds
Raised bed gardening gives you complete control over soil composition, drainage, and depth. When building raised beds, choose durable, rot-resistant woods like cedar, redwood, or black locust, and avoid chemically treated lumber that can leach toxins into your soil. The ideal bed width is 3 to 4 feet, allowing you to reach the center from either side without stepping on and compacting the soil. The depth should be at least 12 inches to accommodate root crops.
Use organic layering to fill new raised beds. Lay down cardboard to suppress weeds, then add wood logs and branches to create a moisture-holding base. Add layers of dry leaves, green garden waste, and finished compost to support active soil microbiology and build healthy structure.
Fabric grow bags and container gardening are excellent options for urban spaces. Potting mixes for containers should be lightweight and drain well, containing peat moss, vermiculite, perlite, and organic compost. Because containers lose nutrients quickly through watering, feed container-grown crops bi-weekly with liquid organic fertilizers like fish emulsion or compost tea to support healthy growth.
Seed Saving, heirloom Genetics, and Genetic Diversity
Heirloom vegetables are open-pollinated plants selected over generations for taste and performance. Saving seeds from these varieties preserves their genetic traits. Hybrid seeds (F1) are cross-pollinated for specific commercial qualities, but saving their seed is not recommended as the next generation will be unpredictable, reverting to parent traits.
Saving hybrid seeds is not practical because the offspring will not match the parent plant. Heirloom varieties provide genetic diversity, making your garden more resilient to pests and changing weather. Growing heirlooms helps preserve agricultural history and builds crops adapted to your region, supporting local ecosystems.
Dry seeds, such as beans, can be left to dry on the vine before collection. Wet seeds, like tomatoes, must be extracted and cleaned. Ferment tomato seeds in water for a few days to remove the surrounding gel and prevent disease, then dry them thoroughly. Store all dried seeds in a cool, dark, dry place to maintain germination rates.
Small Space FAQ
What containers are best for root crops?
Use fabric grow bags at least 12 inches deep to give root crops space to grow and prevent root circling.
How often should I feed container plants?
Feed them every two weeks with liquid organic fertilizer, as nutrients wash out quickly with watering.
Key Takeaways for Your Garden
Optimizing your layout and building high-quality soil lets you grow an abundant harvest even on a small patio or balcony. Focus on vertical crops like climbing beans and peas. Regularly feeding your container crops ensures they have the nutrients needed for continuous yields.
Organic Yield Quick Guide
Documenting your cultivation tasks helps you learn what works best in your local climate. Record planting dates, weather observations, first harvests, and any pest or disease issues. This historical data helps you plan crop rotations and manage your soil amendments next year.
Make sure to monitor your compost pile, checking moisture levels and turning it regularly to distribute heat. Turn the pile to add oxygen, check that the core temperature rises enough to destroy weed seeds, and apply compost to your beds before each planting season to maintain soil health.
Embrace biodiversity by planting companion flowers and herbs, which help draw in pollinators and manage pests. This reduces pest pressure, supports healthy pollination, and builds a resilient backyard ecosystem that produces fresh food for your table.
DHIDEE AGRO Routine Checklist
- Soil: Covering your garden beds with organic mulches is a critical soil-building task. Mulch keeps the root zone damp and feeds the soil organisms as it decomposes. Additionally, a thick mulch layer acts as a barrier that prevents weed seeds from germinating and competing with your vegetable crops for water and nutrients.
- Watering: Aim for deep, thorough watering sessions twice a week. Watering the root zone deeply helps build deep root systems that can find moisture during hot dry spells. This practice also helps leach excess mineral salts from the upper soil, maintaining a balanced chemical environment for your vegetable roots.
- Pest Patrol: Inspect your crops daily to catch early signs of pest pressure. Hand-picking caterpillars and washing off aphids with a hose protects your yields naturally. If an organic spray like neem oil is required, apply it late in the day to avoid leaf scorch and prevent harming active pollinators.
- Fertility: Apply a light top-dressing of finished organic compost to your beds between crop rotations to keep soil nutrients balanced and feed the microbiology. This addition keeps your soil food web active and ensures the next crop has immediate access to organic nitrogen and minerals.
- Harvesting: Pick mature vegetables immediately to prevent rot and deter pests from gathering in your garden beds. Clean harvested food before storing it in a cool, dark pantry.
- Pruning: Remove dead or diseased foliage from all vegetable crops immediately to prevent pathogens from spreading and support healthy new growth.